
The following components are required for this lesson.
| Components |
|---|
| Arduino Board |
| Force Sensing Resistor (FSR) |
| Resistor (10 kΩ & 220Ω) |
| LEDs |
| Breadboard |
| Breadboard wire links |

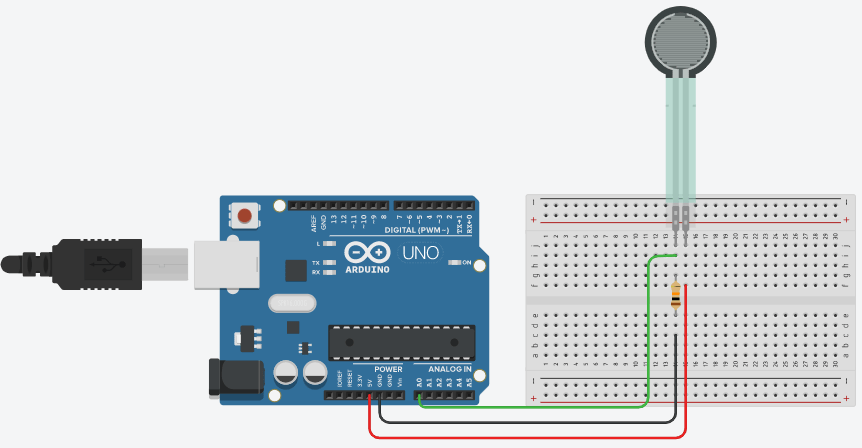
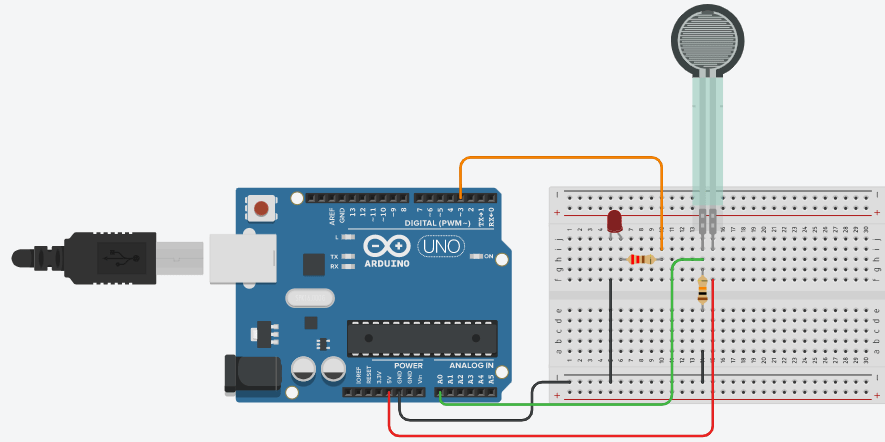
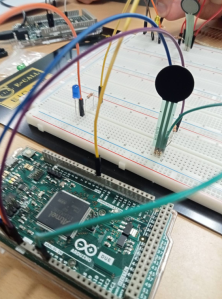
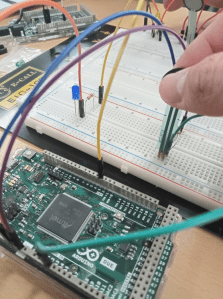
- 10 kΩ connected to Force sensor, 220Ω connected to LED.
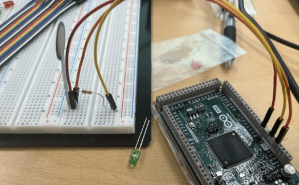
Arduino FSR Reading Circuit
Arduino FSR Reading Code
int FSRPin = 0;     //the FSR and 10K ohm pulldown are connected to a0
int FSRReading;     //the analog reading from the FSR resistor divider

void setup(void) {
  Serial.begin(9600);
}

void loop(void) {
  FSRReading = analogRead(FSRPin);
  Serial.print("Analog reading = ");
  Serial.println(FSRReading);     //print the raw analog  FSR reading
  delay(100);
}
Arduino FSR Reading with Squeeze Leveling Code
int FSRPin = 0;     // the FSR and 10K pulldown are connected to a0
int FSRReading;     // the analog reading from the FSR resistor divider

void setup(void) {
  Serial.begin(9600);
}

void loop(void) {
  FSRReading = analogRead(FSRPin);
  Serial.print("Analog reading = ");
  Serial.print(FSRReading);     // print the raw analog reading

  if (FSRReading < 10) {
    Serial.println(" -> No pressure");
  } else if (FSRReading < 200) {
    Serial.println(" -> Light touch");
  } else if (FSRReading < 500) {
    Serial.println(" -> Light squeeze");
  } else if (FSRReading < 800) {
    Serial.println(" -> Medium squeeze");
  } else {
    Serial.println(" -> Big squeeze");
  }
  delay(100);
}
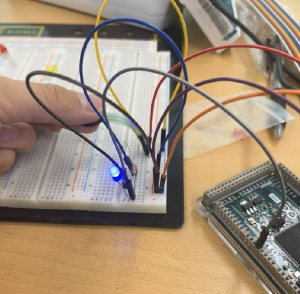
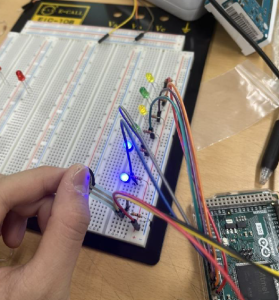
Arduino FSR LED Fading Circuit
Arduino FSR LED Fading Code
const int OUTPUT_LED_PIN = 3;
const int INPUT_FSR_PIN = A0;
const int DELAY = 50; // how often to read from the sensor input

void setup() {
  pinMode(OUTPUT_LED_PIN, OUTPUT);
  pinMode(INPUT_FSR_PIN, INPUT);
  Serial.begin(9600);
}

void loop() {

  // Read the force-sensitive resistor value
  int fsrVal = analogRead(INPUT_FSR_PIN);

  // Remap the value for output.
  int LEDVal = map(FSRVal, 0, 1023, 0, 255);

  // Print the raw sensor value and the converted led value
  Serial.print(FSRVal);
  Serial.print(",");
  Serial.println(LEDVal);

  // Write out the LED value.
  analogWrite(OUTPUT_LED_PIN, LEDVal);
  delay(DELAY);
}
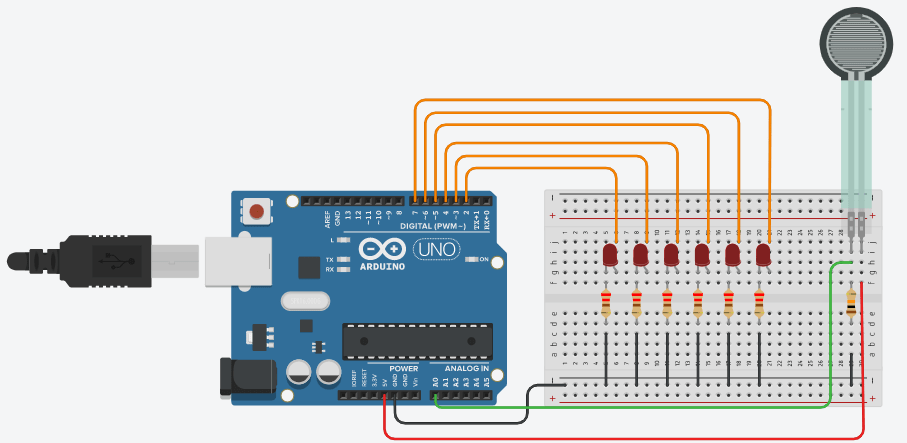
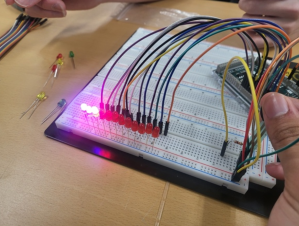
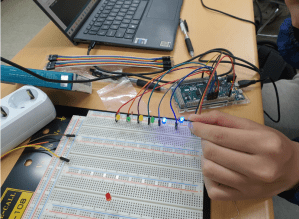
Arduino FSR Multi-LEDs Circuit
Arduino FSR Multi-LEDs Controlling Code
// Define pins:
#define fsrpin A0
#define led1 2
#define led2 3
#define led3 4
#define led4 5
#define led5 6
#define led6 7

// Define variables:
int fsrreading;

void setup() {
  // Begin serial communication at a baud rate of 9600:
  Serial.begin(9600);
  // Set LED pins as output:
  pinMode(led1, OUTPUT);
  pinMode(led2, OUTPUT);
  pinMode(led3, OUTPUT);
  pinMode(led4, OUTPUT);
  pinMode(led5, OUTPUT);
  pinMode(led6, OUTPUT);
}

void loop() {
  // Read the FSR pin and store the output as fsrreading:
  fsrreading = analogRead(fsrpin);

  // Print the fsrreading in the serial monitor:
  Serial.println(fsrreading);

  // Control the LEDs:
  if (fsrreading > 200) {
    digitalWrite(led1, HIGH);
  }
  else digitalWrite(led1, LOW);
  if (fsrreading > 450) {
    digitalWrite(led2, HIGH);
  }
  else digitalWrite(led2, LOW);
  if (fsrreading > 550) {
    digitalWrite(led3, HIGH);
  }
  else digitalWrite(led3, LOW);
  if (fsrreading > 650) {
    digitalWrite(led4, HIGH);
  }
  else digitalWrite(led4, LOW);
  if (fsrreading > 800) {
    digitalWrite(led5, HIGH);
  }
  else digitalWrite(led5, LOW);
  if (fsrreading > 900) {
    digitalWrite(led6, HIGH);
  }
  else digitalWrite(led6, LOW);
}
Students’ Work (2023.04.03)


Leave a comment